How To Attach Planter Boxes To A Fence With French Cleats
We may receive a commission on purchases made from links.
French cleats are a simple, yet deceptively strong way of supporting a variety of objects on vertical surfaces like walls and fences. Previously we’ve looked at how to DIY a cleat wall for better garage organization and storage, and the same principles can be used to attach planter boxes to a fence. What’s more, the process is relatively straightforward and requires no more than the basic tool set that many DIY enthusiasts will already possess: a drill driver, a square, and a saw capable of cutting at angles. A nail gun would be useful, but you could either go old-school with a hammer and nails or use screws instead. You can also use low-cost lumber from a local hardware or big box store.
Before we get to the actual construction, let’s answer the common question, what is a French cleat? In simple terms, it consists of two interlocking 45-degree strips. The first, attached to the wall or fence, has a 45-degree bevel facing upwards. The second, attached to the object to be hung, has a 45-degree bevel facing downwards. When they are properly made, they are almost invisible and provide tremendous strength.
Making the planters and attaching the French cleats
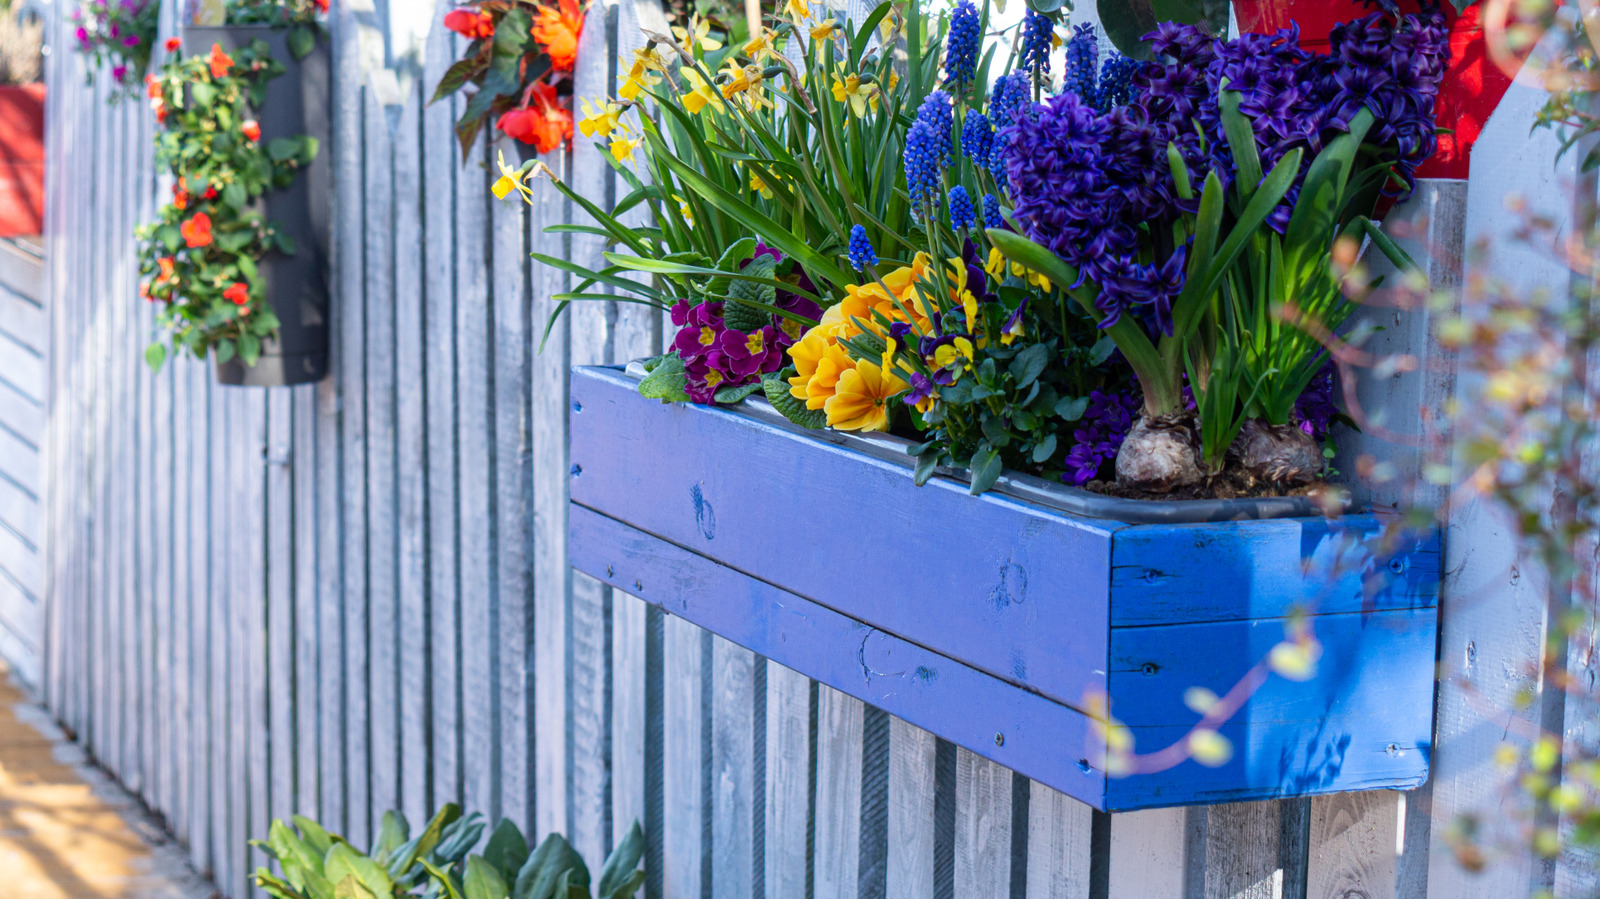
The project is suitable for many of the wood fence ideas for a stylish and private yard, as long as the fence has horizontal rails (or they can be added). Simple boxes are glued and nailed together. The size of these can be varied to suit your fence and the appearance you require.
To create the French cleats, a piece of 1 x 3 lumber is ripped along its length, right down the center, with the saw blade at a 45-degree angle. It’s important to keep the cut straight when doing this, as it’s these angles that form the two interlocking parts. After ripping, the board is trimmed to the length of each planter to produce two identical cleats, one for the box and one that will be attached to the fence.
The cleat for the planter box has three pilot holes drilled along its length, and it is then screwed to the back of the box, near the top, with the angled part facing down. A bead of wood glue along the cleat can provide a temporary hold while it is aligned and the screws inserted. This effectively creates a hook. The other cleat is drilled in the same way, then screwed to the fence. This time, the angle faces upwards, creating the perfect matching surface for the box to hook onto.
Measuring, marking, and finishing planter boxes with French cleats
The key to success with this project is being careful when measuring and marking the positions of the cleats. There’s an old woodworking adage that says, “measure twice, cut once.” In other words, check what you’re doing at each step. It’s important that the French cleats are fixed so that they are level horizontally, or the boxes will look crooked when hung. The best way to ensure this when marking the fence is to position a spirit level where you want the French cleat to go. Draw a line along the top with a pencil and follow that.
Making the boxes and the French cleats is the kind of DIY garden project that can be completed in a day, but any outdoor wood fares better when protected from humidity, so it’s worth applying a coat of wood preservative before planting up the boxes. Something like Vermont Natural Coatings Penetrating Stain is available in a variety of colors and is non-toxic, so it won’t affect the plants, even if you choose to grow herbs or trailing fruit.