Keep All Your Gardening Essentials Organized With A DIY Storage Center
We may receive a commission on purchases made from links.
Gardens may come in all shapes, sizes, and layouts, but the need for convenient, safe tool storage is universal. Keeping your most essential garden tools handy with an outdoor storage center allows for quicker, easier work and better results. Unfortunately, kits from the local home improvement store often either don’t fit the budget or the yard. Valuable as it may be, a shed can seem totally out of reach. What too many fail to realize, though, is that practical solutions actually are attainable if you can apply a little DIY ingenuity.
While you can find some affordable outdoor sheds on Amazon, a cost-effective DIY storage center to keep all your gardening essentials organized isn’t as daunting to assemble as it may seem. In fact, if you have an existing roofed outdoor area, like a patio, you may be able to whip up a storage solution on the wall. Take stock of your equipment, and install an inexpensive rack like the Swanlake Garden Tools Adjustable Storage System to keep them tidy. If needed, add a tarp cover to keep excess moisture from rainfall and UV light from accelerating the wear on your tools.
Coupled with proper maintenance, these simple fixes keep tools prepped and handy for any gardening project. But if you want to take things up a notch, a small wood shed can be a simple upgrade to optimize the gardening experience. Lay out your gardening tools as they would sit on the shed walls, and plan your measurements based on that to ensure the most space-efficient build.
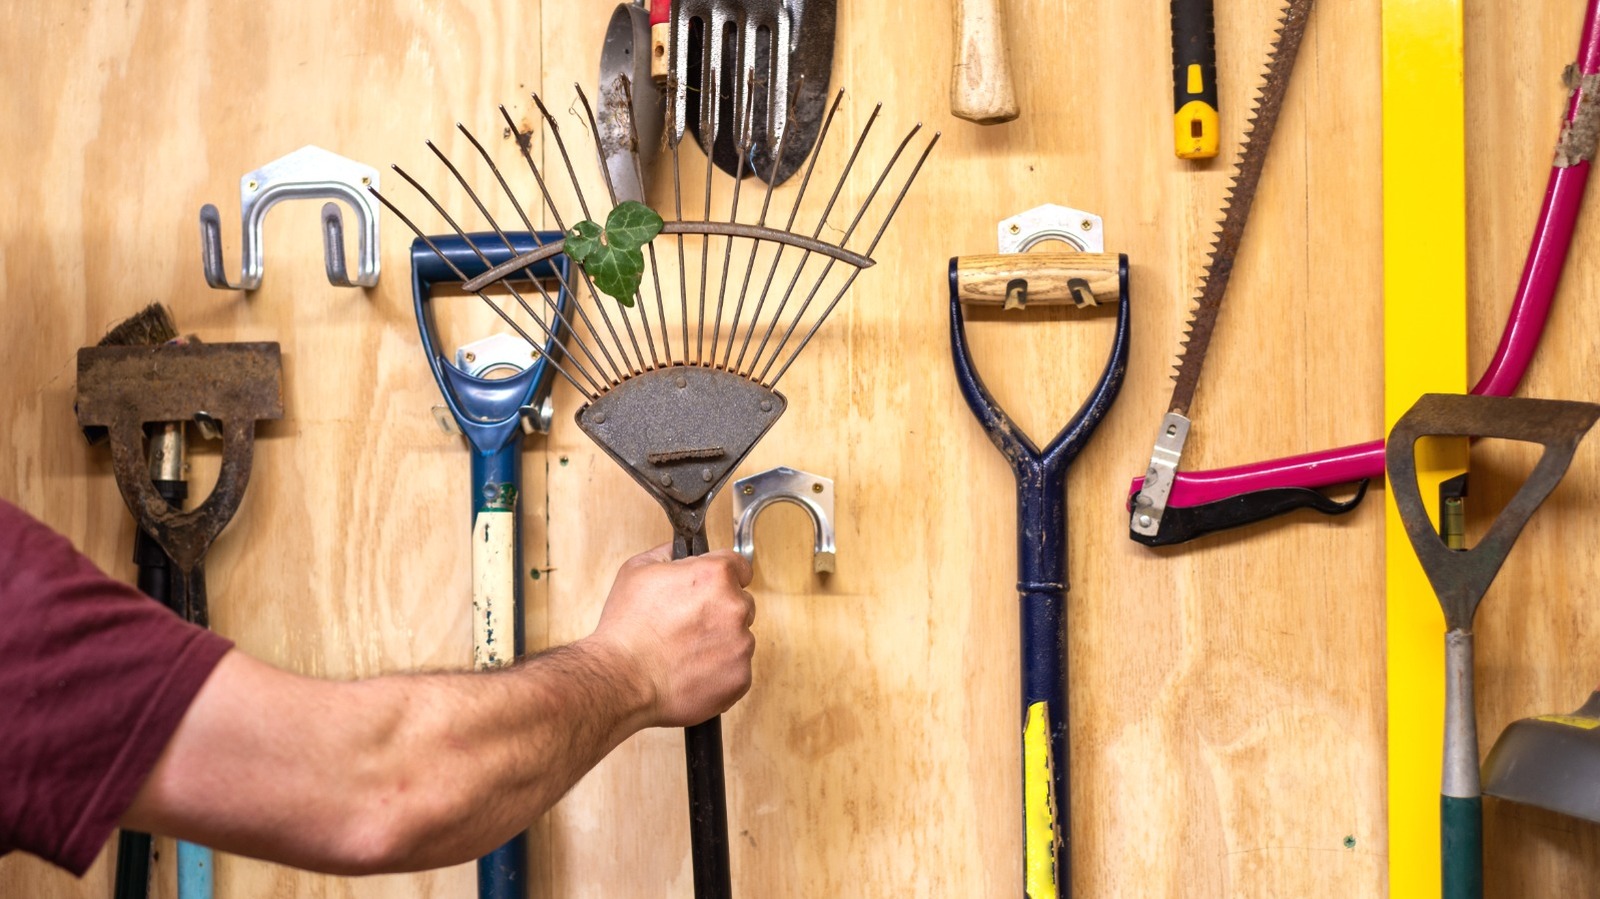
Different directions to take your DIY storage center
There aren’t many barriers to making a storage center for gardening essentials. Several easy solutions will work if you give your tools the proper care before putting them up for the season, like oiling metal and treating wood parts to prevent damage. Whether you have limited supplies, space, or know-how, you can find a DIY to solve your issues. When you have an area with an overhead cover, you may only need a few hooks on a horizontal board. Mount it to the wall so you can hang your tools by their heads or handles. PVC pipes can be a perfect solution here as well, helping to keep your equipment upright and organized. Adding more versatility, a pegboard or French cleat system will allow for optimal storage of small and large gardening items.
For simplicity’s sake (and to save some money), you can also repurpose materials that fit perfectly within the gardening storage space. An old desk or rolling storage cart would be great for holding buckets, small tools, and gardening materials. Don’t have any? Grab a few unused palettes to reuse in a simple work surface. You can also stand them upright and stack them, creating a backing for installing hooks to organize easy-to-access hand tools. Lattice similarly makes a practical mounting surface, providing numerous points to hook accessories. When you need to organize smaller gardening supplies away from the elements, you may find some old cabinets or deck boxes to be the ideal fix.
Building a DIY wood shed to house your outdoor essentials
A DIY wood shed is really the pinnacle of outdoor tool storage, yet it doesn’t have to be difficult to build. Pressure-treated two-by-four lumber or naturally rot- and pest- resistant materials like cedar, redwood, or white oak will make the frame. Plywood, OSB, or fence pickets can complete the walls, as long as they’re rated for direct exposure outdoors. Fasteners and hardware should similarly be outdoor-rated. For overhead protection, you can use corrugated sheet metal roofing or low-cost shingles, along with the necessary underlayment. To protect the structure from water on the ground, use cinder blocks or pavers to elevate the shed.
Create a flat area with good drainage and away from falling hazards. Construct a simple square frame for the floor. Size it to the desired interior dimensions plus the depth that each wall will add (~3 ½ inches per side when using two-by-fours). Run boards to stabilize the shape and provide a firm foundation for the floor. Make rectangle frames for the walls with horizontal supports running between the sides. Join them and fix the bottom plates to the floor with construction screws.
Install your sheathing, underlayment, and roofing, adding a slight pitch to shed water and snow. Then, put on your door and exterior panels to close the walls. If the door is taking up an entire wall (as it would for a small wood shed), the build is simple. Use dry, warp-resistant woods (e.g., cedar instead of pressure-treated pine) to ensure smooth operation and latching for the long term. With the door fitted, you can enjoy the benefits of a small outdoor shed for your gardening routine.