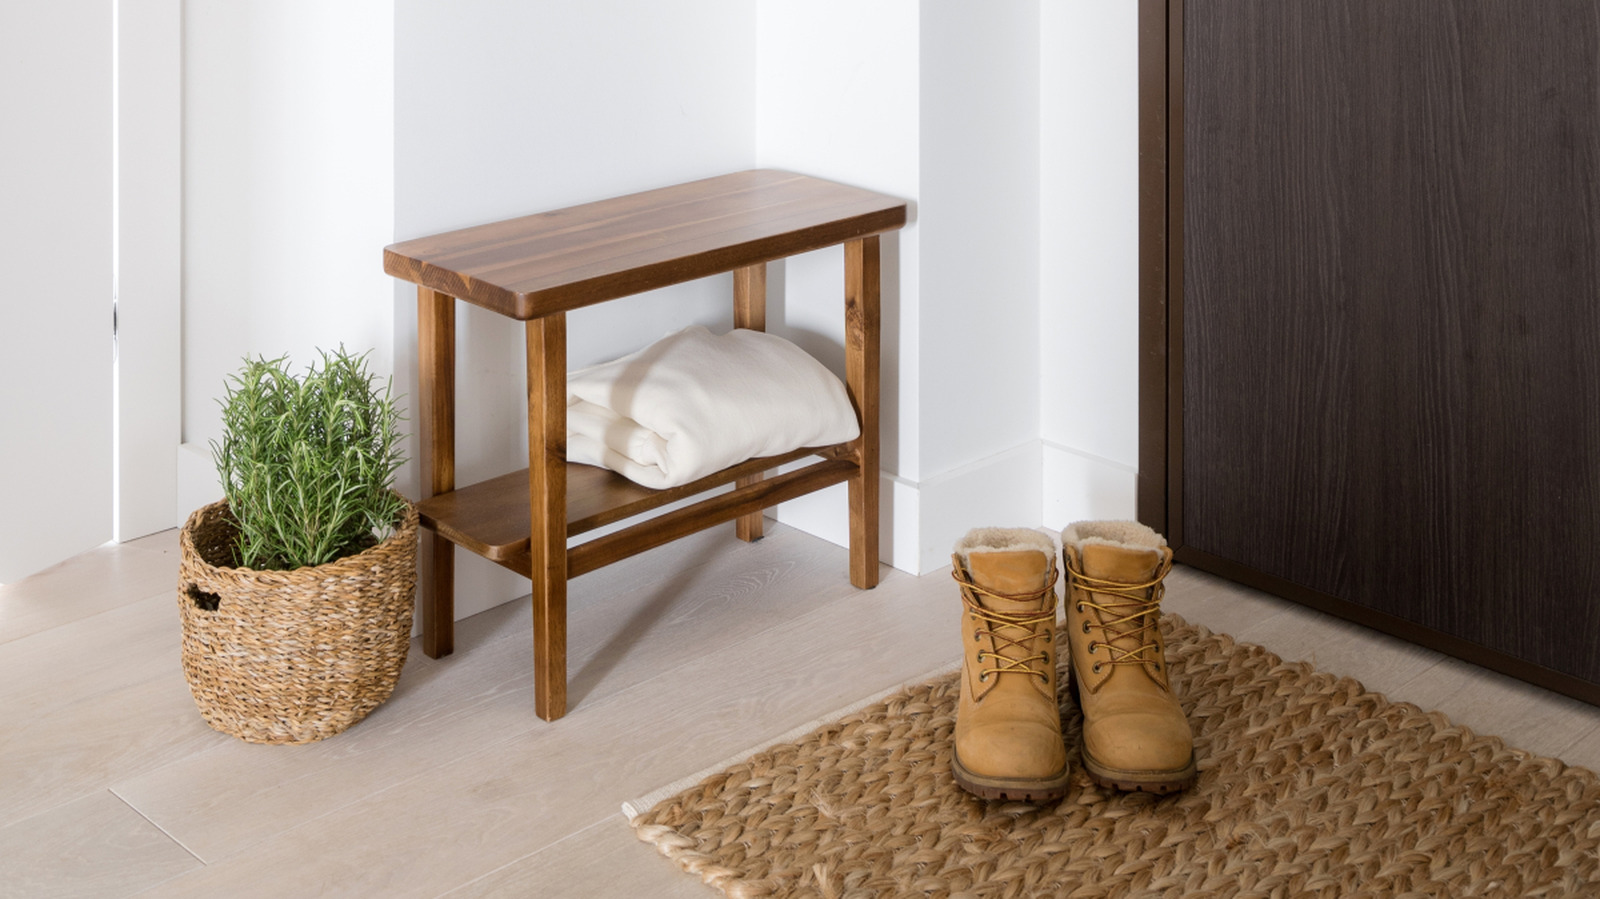
Add Function And Flair To A Small Entryway With A DIY Wood Bench
We may receive a commission on purchases made from links.
It’s pretty easy to tell when an entryway needs a refresh. Maybe it isn’t as functional as you need it to be. Or perhaps you’d like to make your entryway feel more inviting the minute you step in. The problem? There’s only so much you can fit in a tiny entryway. You don’t want the area to look cluttered, but you also don’t want it to be empty and devoid of personality. Cue today’s DIY wood bench that adds function and flair to a small entryway. It barely takes up room yet is hard to miss because of its rustic character. But the best part: This project is relatively newbie-friendly as far as woodworking goes. Really, all you need to do is build the seat, attach the legs, and insert the bottom shelf.
To get started, pick up a 2-inch by 6-inch framing lumber from your local lumberyard or hardware store. The piece should span a total of 16 feet tall, just like the 2-inch x 6-inch x 16-feet Fir Kiln-Dried Lumber from Lowe’s. Other than that, you’ll need a saw (could be manual or electric), a power drill, and a pocket-hole jig. A basic kit, such as the Kreg R3 Jr. Pocket-Hole Jig System, will do in this case. Finish off the list with wood glue (the Titebond III Wood Glue is an inexpensive fan-favorite), a handful of pocket screws, hole plugs, 220-grit sandpaper, and stain/paint.
How to DIY a cute, little wood bench for your entryway
First on the agenda is cutting the wood. You’ll need two 36-inch pieces, two 25-inch pieces, and four 17 ½-inch pieces. Once they’re ready, it’s time to assemble the bench. Attach the longest boards side by side using pocket holes to form your seat. Psst: New to this type of joinery? Peep TikTok’s tips for perfect pocket holes during any DIY wood project before operating your jig.
Next, secure two of the 17 ½-inch pieces together lengthwise, just like for the seat. This will be the bench’s leg. Do the same thing with the other pair to build the second leg. Then, “pocket hole” each leg to the bottom of the seat, making sure to leave a 4-inch overhang on both sides. That way, the (functional!) bottom shelf can fit between the framework. Speaking of the shelf, attach the last pair of 25-inch boards and drill them underneath the seat. Fill all holes with pocket plugs and glue, and off you go personalizing the bench!
Decide whether you want to paint or stain your newly built furniture. In either scenario, give it a light sanding first for a smooth, blotch-free finish. If painting, prime the bare wood, paint in your chosen color, then top with a clear coat, such as the Varathane Water-Based Ultimate Polyurethane. If you choose to stain, pre-stain the piece with a product like the Minwax Clear Pre-Stain Wood Conditioner before staining and sealing the surfaces. And there you have a stunning way to fill an awkward corner in your entryway.
