Create A Lush Hanging Flower Ball On A Budget With Dollar Tree Supplies
You feel that tug of temptation every year: The delectable hanging baskets dangling at perfect eye-view at the local nursery call your name. The price tag on these beauties might quickly snap you back to reality. Baskets spilling over with flowers add beauty to your patio, but ready-made ones can be shockingly expensive. What if you could create your own hanging garden for much less dough and provide twice as many flowers as a normal basket would? Create a lush flower ball from two wire baskets and two coconut coir liners, and Dollar Tree will help you do this for under $10. Planting the flowers from the outside of the liners in, stuffing the basket duo with soil, and zip tying them together is both easy and leads to unexpected results. Plus, it won’t set you back anywhere near what a pre-arranged basket would.
Grab two hanging wire baskets, two coconut coir basket liners, and a pack of zip ties at Dollar Tree. You’ll also need a sheet of durable material like a Cooking Concepts Flexible Chopping Mat, but you can also use a piece of cardboard that’s more than 10 inches on each side.
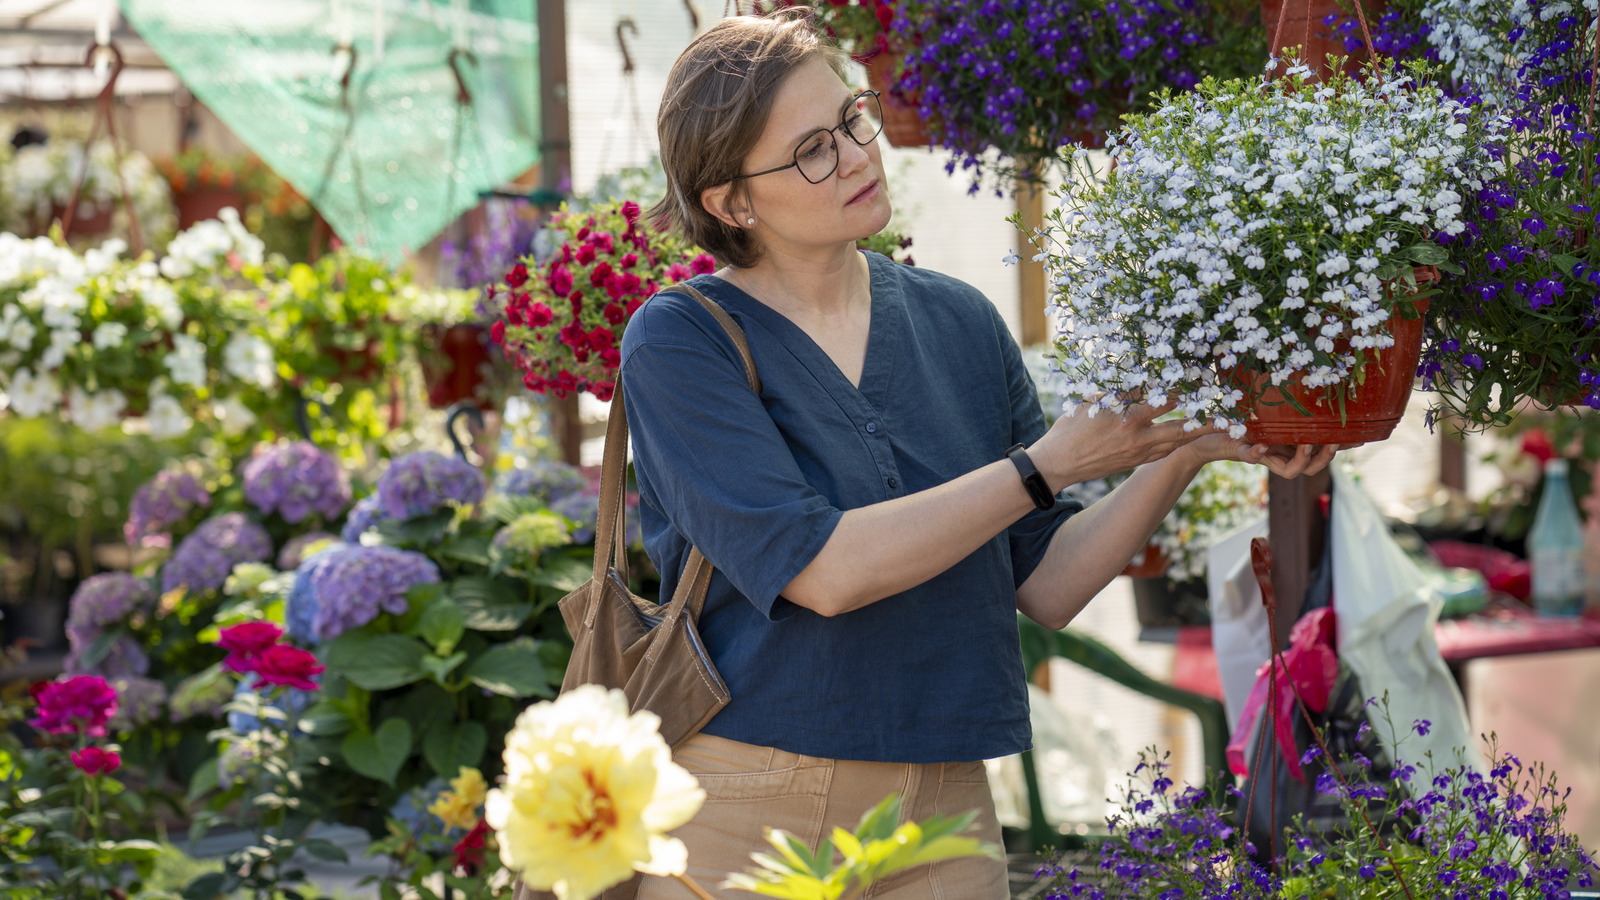
Head to your favorite garden center for potting soil and flowers that strike your fancy. Brighten up your front porch with a stunning flower combo, or keep it consistent with one eye-catching variety. Go with drought-resistant flowers, since plants in baskets dry out quickly. Each basket has a hole at the bottom for one plant and has sides divided into seven openings for two to four plants each, depending on the flowers.
Assemble your floral orb
Gather your supplies plus a pair of gloves, a trowel, and some scissors. Set the liner inside the basket, and determine where you’ll be placing each plant. It could be helpful to draw an X with a marker at each spot where you’ll place a flower. Cutting only one opening per plant will help hold in the soil. When you’re happy with the layout for both baskets, cut along the Xs, and send the plants’ root balls through the cuts on the outside of the liner.
Since the weight of the baskets will be resting on already-planted flowers, complete these next steps quickly to minimize how long the flowers are pressed between the basket and your work surface. Unhook the hanging chains from each basket, fill the liners with soil, and water it. Place the chopping mat or cardboard square over one of the baskets’ openings, and hold it in place as you invert it atop the other basket. Slide the mat or cardboard out from between the two baskets carefully, and zip tie the wire rims of the two baskets together at each of the seven sections.
To hang the ball, err on the side of caution by using both of the hanging chains that came on the baskets. Hook one of the chains at even spaces around the rim, connecting both baskets if possible. Place the second chain over top of the first, with the hooks curving in the same direction. Connect the two separate hanging chains with a zip tie right beneath the hooks. Hang up your design, and enjoy it all season long.