Upgrade Basic Dollar Tree Jars Into Rustic Home Decor With A Simple And Stylish DIY
Using rustic décor pieces in interior design has been popular for decades. The appeal of the rustic farmhouse look is its warm, natural aesthetic that emphasizes raw materials and handcrafted charm. These décor pieces can appeal to your sense of nostalgia, helping to create a calm atmosphere in your home. Fortunately, to get this cozy feeling for your home, you don’t have to spend hours hunting at thrift stores or shell out large sums of money for high-end décor. You can actually turn Dollar Tree glass candy jars into gorgeous, faux wood, rustic décor pieces fairly easily. For this DIY, you just need a set of Dollar Tree candy jars (however many jars you want in your set), a flathead screwdriver, white chalk paint, a paint brush, wood-colored wax finish, a lint-free cloth (such as linen), and clear sealing wax.
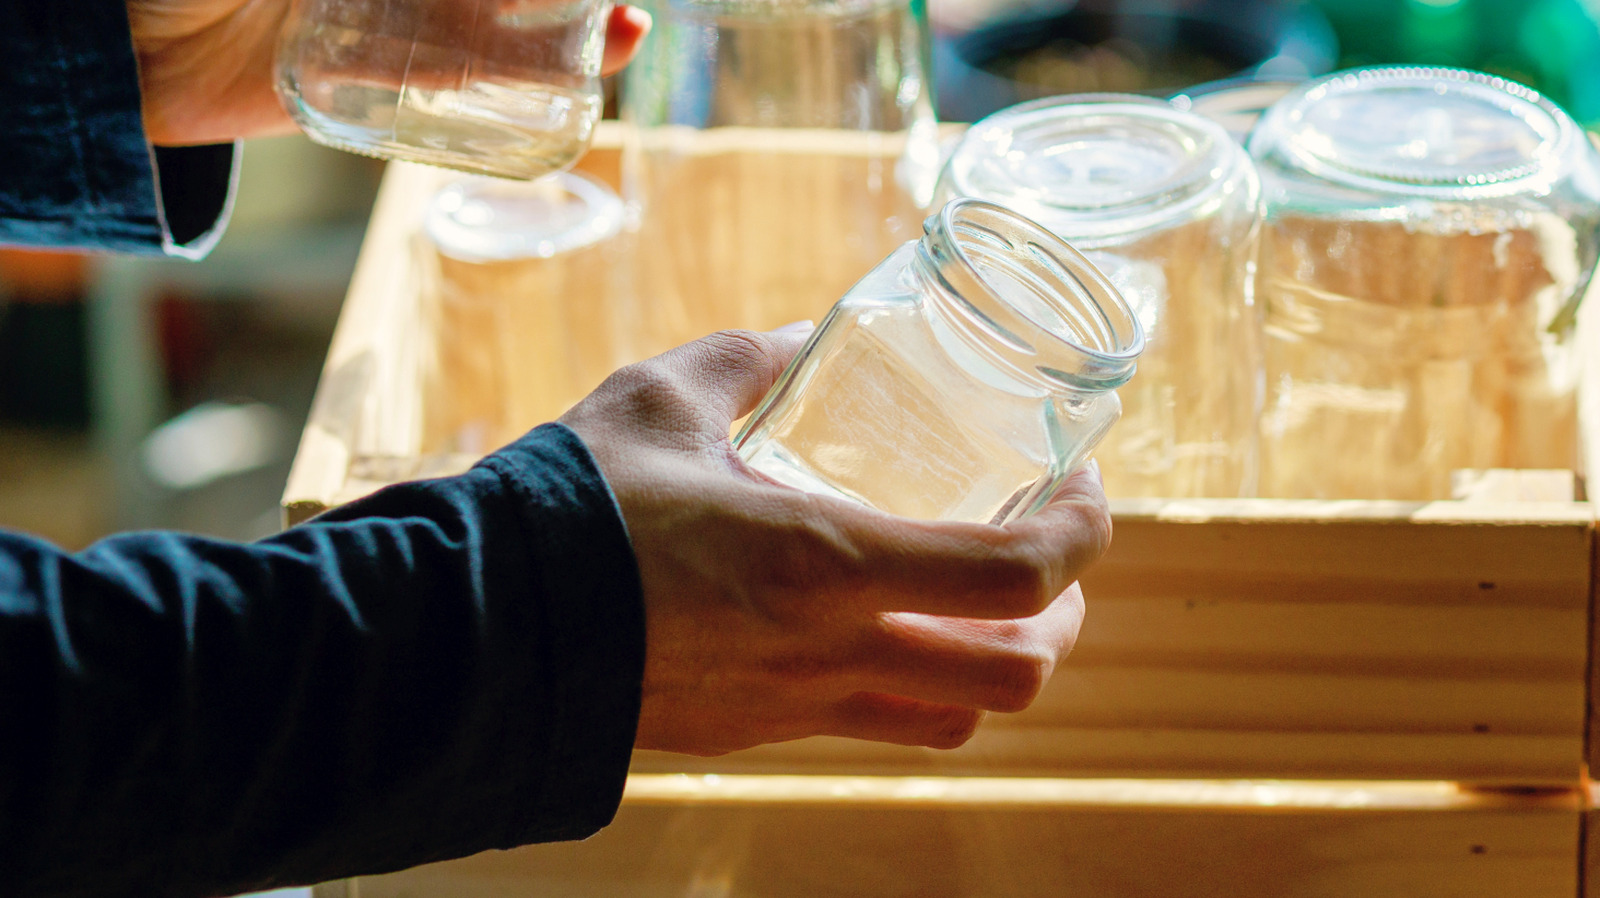
These jars are great as simple décor pieces, but can also be used to store small items. If you intend to use them for food storage, omit painting the top of their rims. However you choose to use this Dollar Tree DIY, decorating jars to create rustic décor is sure to add a touch of old-fashioned charm to your home.
How to DIY a rustic décor piece from a dollar tree jar
To start this project, clean your Dollar Tree candy jars thoroughly to ensure a seamless chalk paint application. Remove the plastic gasket from one of the jars by prying it off using a flathead screwdriver. If you have trouble removing it completely with the screwdriver, you can pull it off using pliers. Do this with the rest of your jars and set the gaskets aside. Then, apply two coats of chalk paint to all your jars and lids, letting them dry for 30-40 minutes between each coat.
Now that you have the base coat applied to your jar set, it’s time to give the lids a faux wood finish. For this, use your paintbrush to apply the wood-colored wax finish to your lids. Immediately after applying the wax finish, use a linen cloth to wipe away much of the wax in a single direction, creating a wood grain pattern. Repeat this step for the second coat, waiting up to 24 hours between coats for the paint to dry. Now, your jar lids should have a nice, rustic, faux-wood look, and you’re ready to reapply the gaskets.
Finally, it’s time to finish the bodies of the jars. To do this, apply clear sealing wax to the jars using a clean linen cloth, rotating the cloth to wipe off the excess wax with an unused portion. After the wax dries, your new jars are ready for use.
Giving your new rustic jars a custom touch
Now that you know this Dollar Tree rustic décor hack, it’s time to come up with some ways to customize the project. One simple way to do this is to choose a color of chalk paint for the bodies of the jars that complements your home’s existing décor. Picking a wood tone for the lids that matches your home’s wood flooring is another option. If you want white jars and colored lids, you can do that, too. To create a distressed wood look with color, you will apply wood-colored chalk paint to your lids instead of white paint. Then, when your two coats of paint are dry, you will apply a couple of layers of colored wax finish using the paint-on, wipe-off method previously described. This will give your jar lids a painted wood appearance.
While these Dollar Tree jars have ridge patterns that give them an antique and interesting look, you can apply this idea to smooth-bodied jars, too. This would lead to even more customization opportunities. Designs, patterns, or even words could be painted on the outside of the jars. For a set of custom flour, sugar, and coffee canisters, you can skip painting the rims of the jars, create the rustic wood-like look with chalk paints and wax, and then use stencils to paint the labels for each one. This is a great idea for decorating your own home or for a housewarming gift.