The Best Tips For Growing Powderpuff Mimosa Ground Cover From Seed
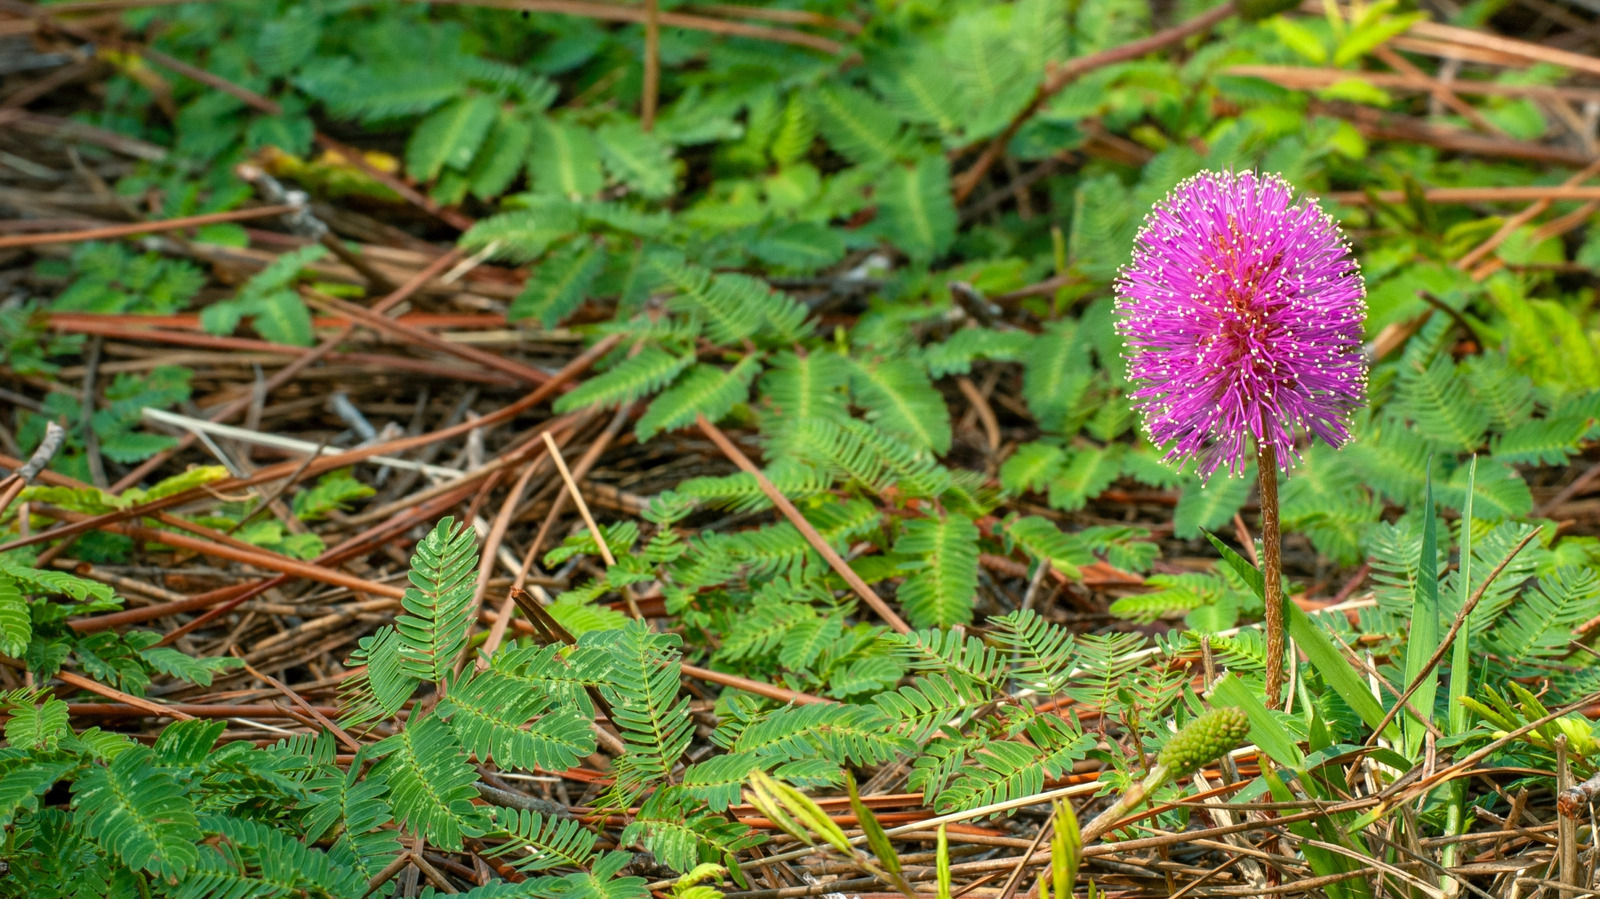
Are you looking for that perfect ground cover that’s both drought-tolerant and can handle some foot traffic? Powderpuff mimosa (Mimosa strigillosa) is both those things and more. It makes an attractive lawn alternative if you live anywhere in USDA hardiness zones 8 through 11, as it’s an evergreen and produces delightfully fluffy pink blooms on tallish stems in spring and summer. This ground cover can even be mowed and is a larval host for the little sulphur butterfly. One of the best ways to plant a ground cover like powderpuff mimosa over a defined area is by using seed. This is usually more economical than purchasing seedlings but, there’s one thing to consider with this species and that is the seeds will take up to a year to germinate if they’re not scarified first. These seeds have a hard seed coat which needs to be broken before the young sprouts can grow. This is the best tip to remember when growing powderpuff mimosa from seed.
Before you look at how to scarify the seeds, It’s a good idea to prepare the patch where you want this ground cover to grow. Select a nice sunny spot and ensure that the soil is relatively neutral with a pH of around 6.2 to 7.1. Once you’ve removed any weeds from the area you want to sow your mimosa seeds, firm the soil so that it’s not too powdery or loose. Now it’s time to prepare the seeds.
How to treat powderpuff mimosa seed before sowing
In order to effectively ensure your powderpuff mimosa seeds will germinate, you’ll need to break the hard seed coat so that water can penetrate. This might be a little tedious if you have a lot of seeds to treat, but it’s a necessary step and well worth the effort if you want the plants to sprout. Not only will this fast-growing ground cover attract beautiful butterflies to your yard, but it will also lure in those bees which are essential for pollinating your edible crops. Scarification basically involves breaking the seed coat and this can be done using a metal file to abrade a small section of the outer coat or a pair of nail clippers to make a small nick in the seed coat. This is known as mechanical scarification and will usually provide the best results. To make this job easier, you might like to use this sandpaper gardening hack to speed up your seeds germination time.
Once you’ve completed this process, you can soften the seeds further by soaking them in warm water for at least 30 minutes, but an hour or two is better. If the seeds swell up nicely, then you’ll know your scarification was successful and those plump seeds should be sown immediately. Any seeds that haven’t plumped up will need to be mechanically scarified again because the seed coat hasn’t been effectively broken the first time.
Sowing your scarified seeds
Once your seeds are ready for sowing, they need to be planted at a depth of ¼ of an inch. Or you could just scatter them over the soil and then cover them quite lightly with more soil or some sand. It’s a good idea to tamp this down gently to enable good seed to soil contact. You probably already know that how deep you should plant your seeds will vary from species to species. Powderpuff mimosa seeds do need to be covered but they shouldn’t be buried deeper than their width.
Make sure you keep the soil moist for at least two to four weeks to ensure the seeds germinate well and start to develop a good tap root. Once established, these plants are relatively drought-tolerant and should be able to survive on rainwater alone unless you’re experiencing a long dry period. Of course, if you don’t have the time or patience to treat the seeds before sowing them, you can purchase seedlings at your local nursery, or use the layering method to produce more plants if you already have some powderpuff mimosa growing in your yard.