Turn Dead Behind-The-Door Space Into Storage Gold With A Few IKEA Items
We may receive a commission on purchases made from links.
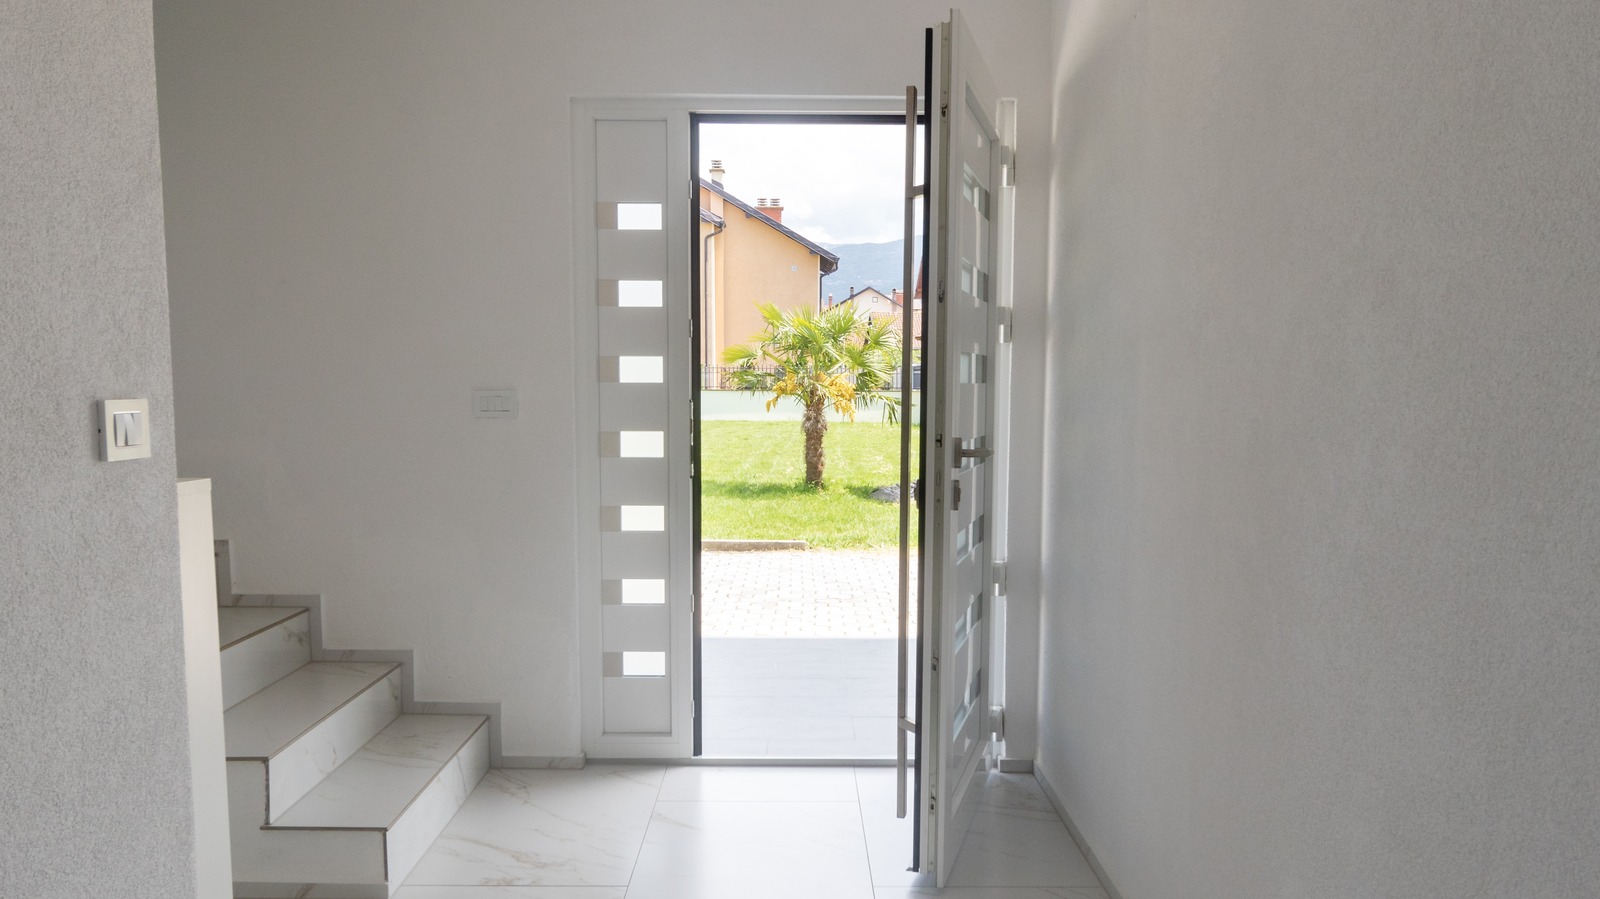
The small, narrow spaces behind the doors in your home can often be a challenge to utilize properly. They’re typically far too tight for even the smallest tables and cabinets. Plus, they’re not exactly the greatest places to hang up artwork or photos, since the wall there isn’t visible whenever the door is open. If you put coat hooks in these spaces instead, they might end up making things look cluttered. So what’s the solution? The best way to fill these gaps in your home, as it turns out, is with storage shelves.
A slim shelving unit that fits behind your door can keep things looking neat and provide considerable practical value. To get such a fixture, you don’t necessarily have to spend a ton of money. In fact, you can combine four IKEA FLISAT shelves and a SKÅDIS pegboard to build one yourself. Although FLISAT shelves aren’t currently available in American IKEA stores, it’s possible to pick them up second-hand from sites like Facebook Marketplace and Craigslist. You can also easily assemble this DIY with alternative furnishings, such as these Fixwal floating nursery bookshelves.
To make your new behind-the-door wall storage unit, you’ll need to link together the four shelves with tall, finished wooden boards on either side, so that they go up on the wall in a single column. You can situate the pegboard between two of these shelves and put some hooks or storage baskets on it for small everyday items like car keys and pet leashes. The finished product should be perfect for keeping your entryway clean and organized. You can even put a few small decor pieces on it, but you’ll want to watch out for common shelf styling mistakes when doing so.
How to DIY a smart-looking shelf that fits behind your door
To get started, assemble your four shelves according to their directions. Then, decide how much vertical space you want between the shelves when they’re on the wall. You can vary the layout of the fixtures, but make sure that one of the gaps that’s between them matches the height of your pegboard. Next, add up the heights of the shelves and the heights of the gaps that you’re going to leave between them. Combine this number with the distance that you want between the bottom shelf and the floor. The final figure is the height of the entire shelving unit. Cut two finished wood boards down to this size, and reduce each one’s width until it matches your shelves’ depth. These boards will serve as the unit’s side panels.
Next, clamp the panels down on either side of the shelves. Make sure to space out the components according to your earlier measurements and ensure that the shelves are level. Once everything is in position, drill a couple of pilot holes at each point where the panels meet the shelves. Then use wood screws to fasten everything together. Though the side panels will extend to the floor, you’ll need to anchor the fixture directly to your wall with the hardware that comes with the shelves. If your shelves don’t come with mounting hardware, you’ll need some wall plugs and screws to secure it. As a final step, install the SKÅDIS pegboard between your shelves. You can do this with the bracket that comes with the product.
Options for customizing your new shelf
The simple design of this behind-the-door shelving unit makes it particularly easy to customize. For starters, you can switch up the way it looks by staining the shelves and the side panels so that they’re a bit darker. Varathane dark walnut wood stain, for example, should work perfectly. You can also swap out the white SKÅDIS pegboard for its black or wood-colored variants. If things are still looking a bit too plain, fill the gaps between your shelves with some peel-and-stick wallpaper. By customizing the furnishing’s appearance, you can make it complement the rest of your entryway’s design.
If you want to make your shelving unit a bit smaller, you can just build the project with two or three shelves instead of four. Since there are fewer shelves, however, you’ll probably want to cut the side panels so that they don’t run all the way down to the floor, turning it into a floating unit. That way, you can still keep the fixture at a height that’s accessible for you.
If this project’s design is instead a bit too wide for your space, swap out the shelves with IKEA’s BEKVÄM spice racks. Although these fixtures are smaller, they’ll still give you a great place to keep everyday items like water bottles, keys, or gloves. Don’t forget to pick out a smaller model of the SKÅDIS pegboard if you’re going to try out this variation of the build.