Turn A Simple Rolling Cart Into A Drawer Set For More Versatile Organizing
It’s no secret that a simple rolling cart is the mobile furniture that is a storage must-haves for small spaces. The four-wheeled, convenient rolling options move around your home seamlessly while offering various shelves to hold everything from beverages to knick knacks to extra baskets of clothing (if your closet space is too tiny). There are also plenty of options for creativity here: options like IKEA storage carts can add extra storage around your home in plenty of genius ways. However, the downside to relying on rolling carts for storage is that, most of the time, your items will be completely exposed. That’s why constructing a simple set of drawers to fit into the rolling cart can help you make a more versatile organization and storage space.
The first part of this easy DIY hack is, of course, to acquire a rolling cart. There’s a wide range of possibilities here: A simple search for rolling carts online comes up with items that are classified as storage carts, kitchen carts, utility carts, and even bar carts. If you’re buying a cart for the sake of completing this craft, you should keep an eye out for more open carts that have plenty of room to host a chest of drawers. You can also look for carts with built-in storage on the top shelf, and an aesthetic that aligns with your space (there are plenty of metallic options for a more industrial look, or colorful ones for maximalist homes).
How to create your own rolling cart drawers
To make your own rolling cart, you’ll need two planks of wood, four wooden poles, and four wheels. Drill 45 millimeter holes on each corner of your wood planks. Screw in wood squares with holes (these act as bases that go over each hole in the plank), then hammer the poles into the holes. Attach castor wheels to the bottom of one plank with a drill and screws. Once you’ve built (or bought) your cart, you can work on the drawers.
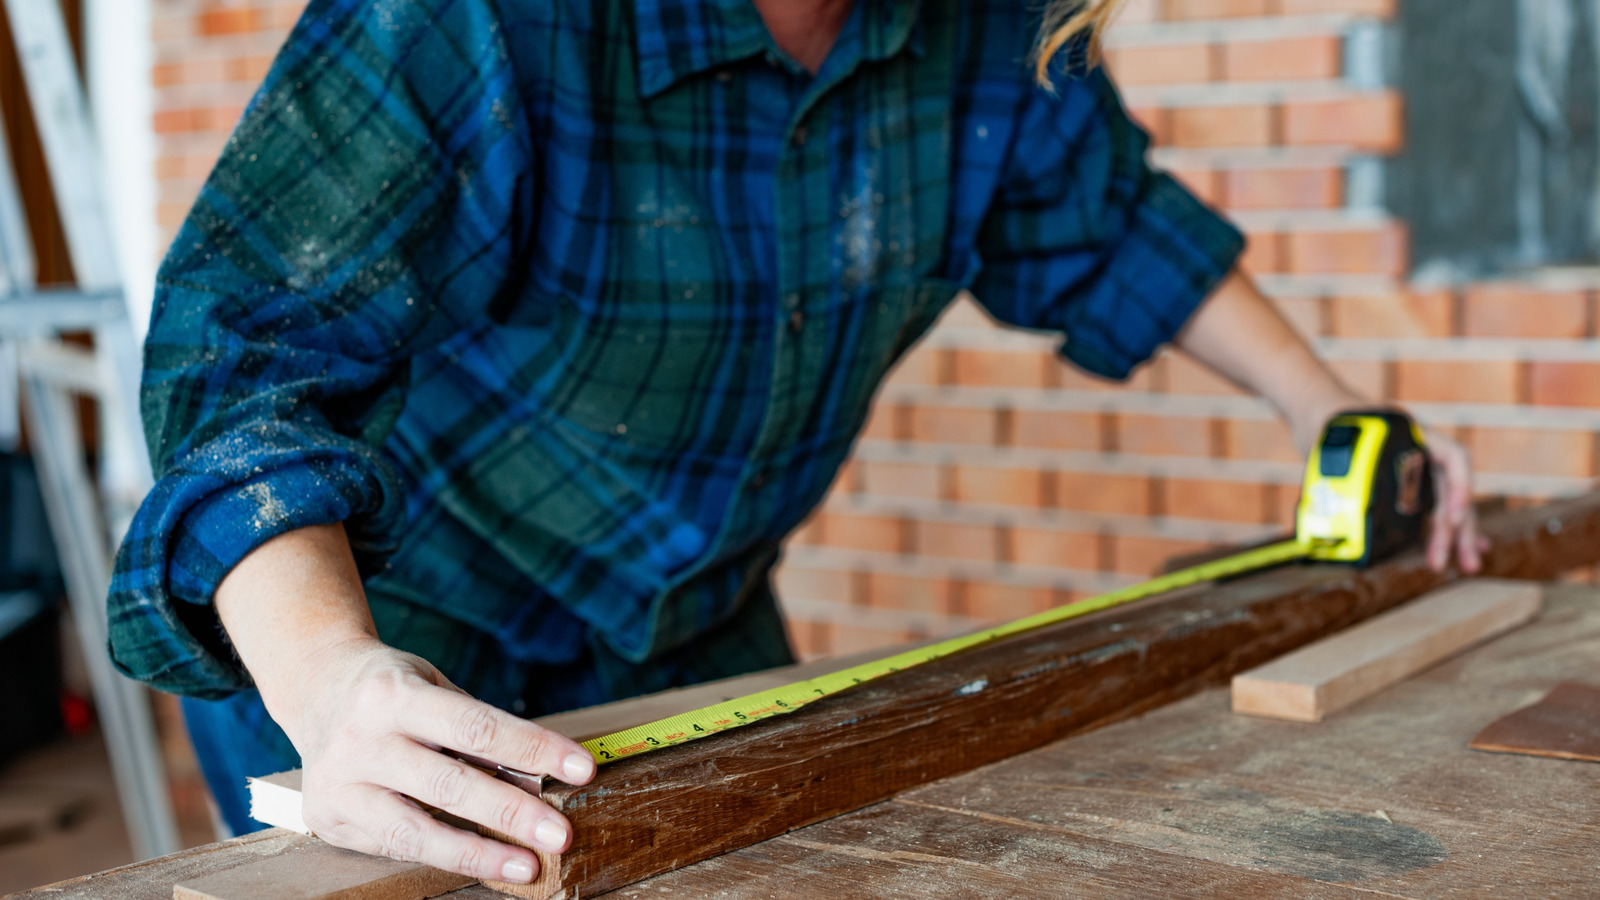
Measure the space in between the two shelves on your rolling cart, accounting for the length, width, and depth. Subtract an inch or two from each measurement to ensure that you have enough space to install and move the drawers. Cut planks to those measurements and build the outer box for the drawer chest, making a box with the front and back ends open.
Then, you can work on the drawers. Measure the inside of the box to decide how long and wide your drawers can be, and calculate the number of drawers you want (three to five is a solid way to go). Divide the height of the box by the number of drawers you want, and then cut pieces to create your own long, wooden drawers. You can drill and wood-glue each side of the drawers together, and will want to have five sides total, leaving the top open. Install your own drawer handles to the front planks and install the drawer sides to the box and drawer, align the two ends together, and slide the drawer in place. Repeat for each drawer you build.
How to personalize your rolling cart storage
There are plenty of ways to personalize and style your rolling cart so that it aligns with your aesthetic. If you’re making your own cart, you can opt to prime and paint the wooden planks and poles you use so that they’re a more exciting color, or so that they match the rest of your décor. But if you’re opting for a premade rolling cart, you could consider using something like peel-and-stick wallpaper to add a layer of personality to the wood surfaces.
Even if you don’t decide to build your own set of drawers, you can still add even more storage to your home rolling cart. If your rolling cart was too small to hold an entire chest of drawers (or if you simply don’t want to put in the elbow grease it takes to build your own), one easy work around is to buy simple baskets for storing items, like the IKEA LABBSAL rattan baskets. These will give your things a proper home to stay in while being stored on the cart. You can also consider creating a small curtain that hangs on the front of the cart and hides away the storage, helping your space look less cluttered. Use a simple table cloth for full 360 degree coverage, or affix some simple S-hooks and hang a piece of fabric that you can slide away when you need to access the cart.