Get Extra Kitchen Storage By Installing Tilt-Down Drawers In Front Of Your Sink
We may receive a commission on purchases made from links.
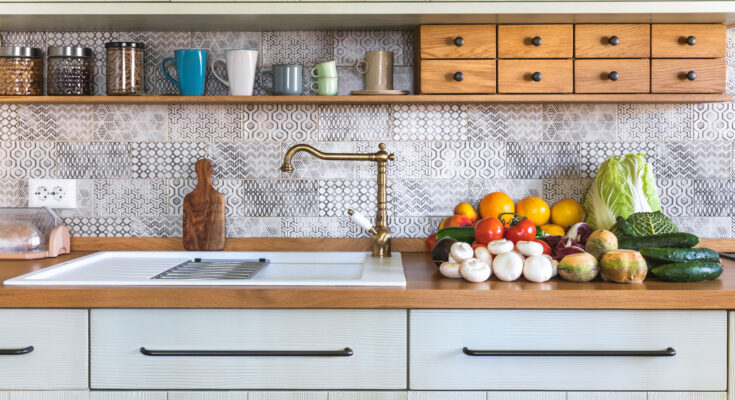
You’ve probably already noticed, with some frustration, that the area under your kitchen sink will not typically be able to accommodate a proper drawer. That pesky basin serving its purpose and so many of your home’s needs just gets in the way. What you’ll likely see, instead, is a false drawer front. And that false front is your portal to a tilt down drawer and the little bit of extra storage it can provide.
Once you’ve maximized your secret kitchen storage hacks, it might seem like you’ve run out of areas to reconfigure for utility. But adding a tilt down drawer might just be an ideal way to get a few more square inches for improved kitchen organization. A tilt down drawer, installed beyond that false front, tips outward to create a little triangular pocket of storage to add one more extra wedge where you can hide away items that might otherwise be cluttering your counter. The concealed compartment is ideal for tucking away new scrubbers, those de facto label-making kitchen Sharpies, or even the plumber’s business card. Tilt-down drawer kits are similarly terrific for adding hidden storage to your bathroom. It’s a great little detail to keep in mind for your next kitchen remodel, but if you’re handy, you can carve out this extra space with a readymade kit and little more than the tools you likely already have at home.
Adding tilt-down drawers to existing cabinets
While this is a DIY, there’s no reason to freestyle a tilt-down drawer addition. Kits like Rev-A-Shelf’s include variously sized interior trays made from a variety of materials, and some come with soft-close hinges. The kit includes all the components and hardware you need to convert the panel into a tilt-out drawer. You’ll need to measure the height and width of the opening behind your false drawer front, as well as the space between the drawer front and the sink basin, to find the right fit. A good kit will detail the minimum clearance required and include easy-to-follow instructions.
Once you’ve measured and selected a kit, you’ll need to remove the false drawer front. Many will be affixed to the cabinet with interior screws or clips, so you may need to slide in to remove them with a drill or screwdriver. You’ll want to follow your kit’s directions precisely, but you should be prepared to affix brackets and hinges to the cabinet and the back of the drawer front, careful not to penetrate all the way through. You’ll also screw the tray to the panel. You’ll then re-attach the newly hinged and trayed false front back to the main cabinet with screws to make it a falsie no more. Once complete, we’d caution against using the secret semi-drawer for anything damp, like a sponge, so as not to attract mildew.


