Reuse A Thrifted Indoor Lamp To Make The Perfect Outdoor Lamp For Your Patio
We may receive a commission on purchases made from links.
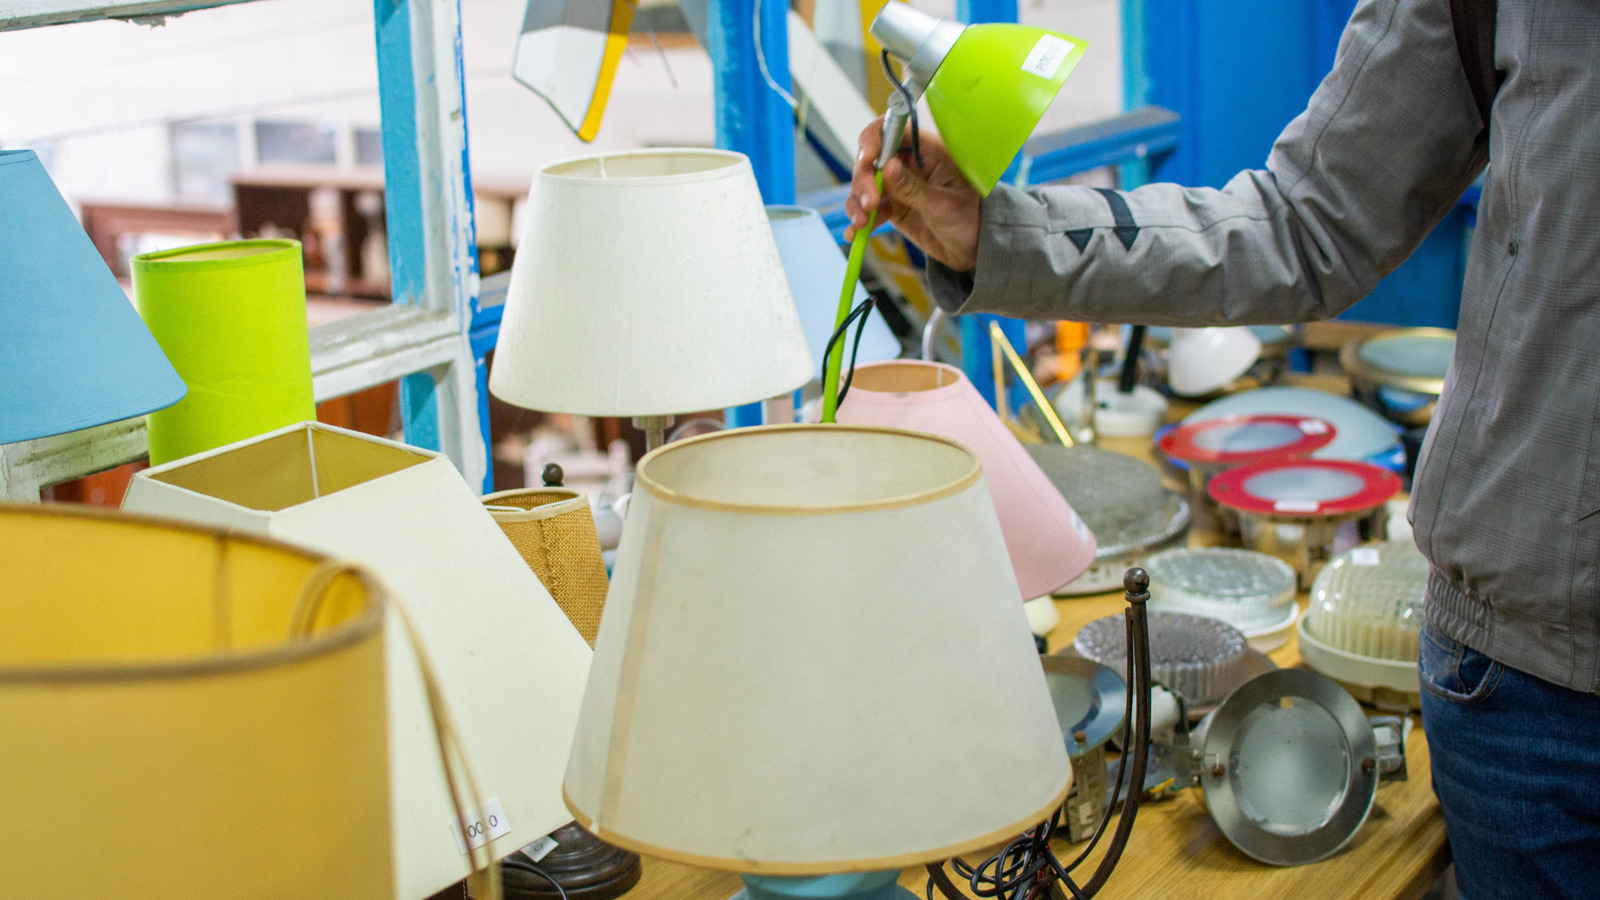
Let there be light, and let it cost just a few bucks! Lamps are some of the most common items you’ll find at thrift stores, and giving one new life — or light — as outdoor illumination is a clever, easy, and budget-friendly project you may be using just a few hours after you complete it. For this project, it’s even better if the light doesn’t work, since you won’t need the wiring. Just a few easy tweaks, and you can reuse a thrifted vintage lamp as outdoor lighting. Swap socket-and-bulb for a solar garden light, top the lamp with a shade that leaves the solar panel exposed, and let it bask in the sun all day. By nightfall, your DIY lamp will be emitting a welcoming glow for your outdoor oasis.
For this project, you’ll want a solar garden spike light, any table or floor lamp, some paint, painter’s tape, scissors, sandpaper, a hot glue gun or E600. The project itself could take less than an hour to complete. If your lamp doesn’t have a shade, source one that doesn’t sit on a harp or directly on a standard bulb. A harp may be too narrow to accommodate the width of a solar light, and a clip-on shade won’t fit over it. Also, avoid plastic shades, since this material breaks down in the sunlight.
Steps to solar lighting success
Start by removing the lamp’s shade and bulb. This off-grid outdoor light doesn’t require a plug and cord, so cut it off and use it for these unexpected ways to repurpose charging cords or cables around the house. Prep the lamp for a new coat of paint by cleaning any dust or grime, and roughing up its surface with sandpaper. Tape any parts that you don’t want painted. Place the lamp on a protected surface in a well-ventilated area. If you don’t have many options for outdoor painting, fling open your windows and set the lamp inside a large cardboard box before spray painting. Coat the lamp in a few layers of paint. Clay-based pigments will stick to a difficult, pre-painted lamp surface well.
While the paint dries, remove the solar light from its base, to see how it will best connect to the lamp’s existing fitting. YouTuber Eva Monroe discovered that removing the lamp socket’s interior fitting that’s attached to the cord gave a perfect fit on larger solar lamps. Your own attachments may be different and require some creative problem-solving.
Once the paint is fully dry, secure the solar light into the lamp’s bulb fixture with a bit of hot glue, and finish it off with the shade. Set the assemblage in the sun; by the evening, you’ll have a glowing accent that’s an entertaining essential for your outdoor space.
Extend the life of your light
Any outdoor decor piece is susceptible to damage from wind, sun, and precipitation. There are a few steps you can take to extend the life of your finished lamp. Even if you ended up opting for a plastic lampshade, several good coatings with a UV-protectant spray on the lamp and the shade can help with durability. A weather-resistant spray paint on the shade could add an element of protection along with an extra dose of color. A product like Krylon Fusion all-in-one paint and primer spray paint is formulated to bond with lots of different materials and hold up against weathering.
Do keep in mind that none of these coatings is guaranteed to preserve decor that’s kept outdoors, so tucking your lamp away during storms and frosts, or removing the shade while charging the light are good ideas.
Cheap solar garden lights are tempting, but sometimes you get what you pay for. Don’t think of them as disposable. With the right treatment, you can make even Dollar Tree solar lights last longer. Simply switch out the batteries when they stop working rather than purchasing new lights. Keep solar panels clean, and bring them inside during freezing temperatures. This may be an inexpensive DIY, but prolonging the life of your projects is a smart step to save even more money.