A Step By Step Guide To Clean A Frigidaire Ice Maker
Frigidaire is among Costco’s most popular ice maker brands. These nifty devices freeze water faster than your refrigerator can, helping you deal with hot summer months in peace. But to keep enjoying refreshing ice, you must keep the appliance clean or the frozen cubes will develop mineral deposits from the water. You might also have to contend with mold and other nasties setting up shop. The fan and the exterior might harbor dust and dirt, compromising the hygiene of your machine. Luckily, the process to clean your ice maker is quite simple. You just need to run a self-clean cycle on your Frigidaire ice maker before giving it a quick vinegar and water bath.
A clean ice maker will produce ice that tastes better and look transparent. Plus, it’ll inhibit the growth of mold. This way, you won’t have to bear questionable odor whenever you scoop out some frozen goodness for your drinks. You can also prevent mineral deposits from hindering the flow of water to the machine or causing blockages. All of these factors will improve the life of your appliance and keep regular wear and tear to a minimum. Plus, you won’t have to worry about reduced ice production. However, to enjoy these benefits, you must clean it at the right time.
When should you clean your Frigidaire ice maker
You should clean your Frigidaire ice maker every quarter or bi-annually, depending on your usage, water hardness, and how dirty it gets. In case this seems confusing, keep an eye out for a few telltale indicators. For instance, if you can barely stomach the stench when you open the top to scoop out some ice, your appliance might be harboring bacteria or mold. Another common indicator is a lack of transparent ice. In other words, if you can no longer see through the frozen pieces, mineral deposits might be impacting its clarity, so you should clean your device to discourage further buildup.
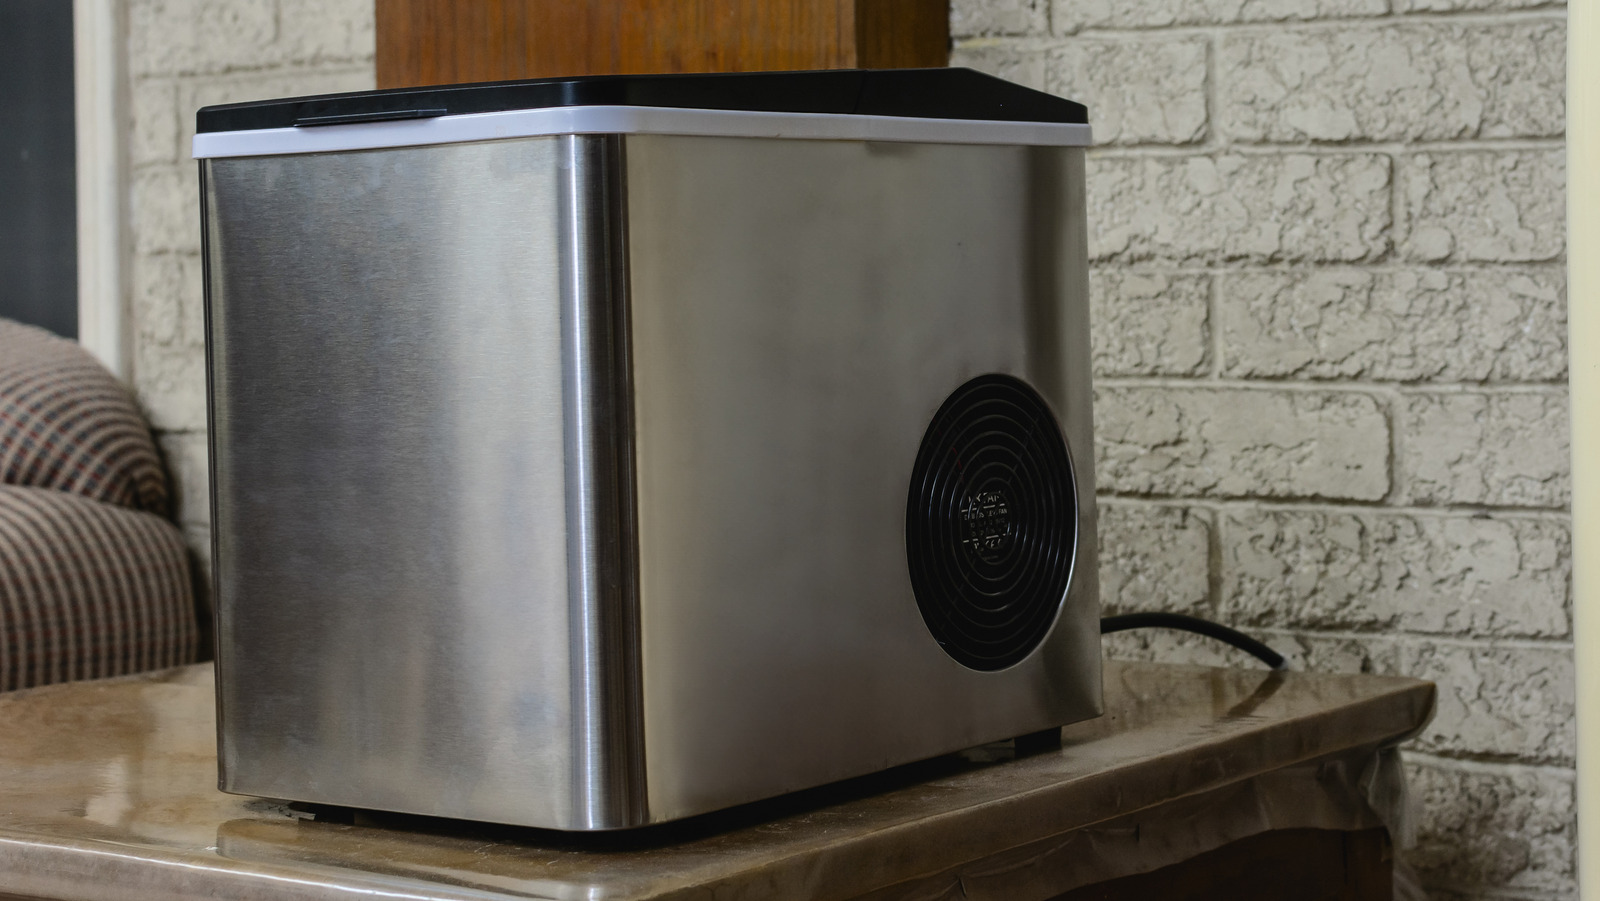
Moreover, if you see a reduction in the quantity of ice, chances are a buildup is impacting the appliance’s performance. This might even impact the time it takes the device to freeze water. To illustrate, Frigidaire claims it takes the compact 26-pound countertop model about seven minutes to form ice. However, a blockage will make it difficult for the maker to work within this time frame. Finally, if it starts emitting loud noises when you turn the power on, it could be an indication of grimy internal parts. Whenever you notice these signs, give your ice maker a clean.
Run a self-cleaning cycle on your Frigidaire ice maker
For regular maintenance of your Frigidaire ice maker, simply run the self-cleaning cycle. You don’t need any supplies for this. Simply empty the ice maker by placing the ice in your freezer to keep it from melting. Now, switch on the device and long press the power button for about five seconds. Your appliance should go into self-cleaning mode. In case you aren’t sure, look for the flashing lights on the device or check the manual.
Let the automatic cycle run for half an hour. You don’t need to watch the time. The flashing lights on the device will go off, indicating the self-cleaning cycle’s completion. After the cycle is complete, you’ll notice some water in the reservoir. To drain it out, turn off the power and unplug the device. Place it near your sink or position a large bowl underneath. Locate the drain plug (it’s situated at the bottom) and twist it off for the water to flow out. Twist the plug back in place and your device will be ready to produce fresh ice again. However, if it’s been a while since you ran the cycle and you notice stubborn spots or a strong, lingering stench, you’ll have to give it a deep clean.
Prep your ice maker, assess it, and gather the necessary supplies
Before you deep clean your Frigidaire ice maker, prep it. Start by switching it off and unplugging it from the power source. This will negate any chance of an electrical accident. Now, wait for the heated machine to cool down. While you wait, take out the ice tray and dump out the remnants since you don’t want to consume cloudy ice. Also, pay attention to the water tray. If it’s not aligned vertically at the back, move it into place or the water inside won’t make it to the reservoir. Before proceeding, check the interior for rust, leaks, blockages, or any other problems.
If you’re in the clear, gather the required supplies. Get some distilled white vinegar. This kind of vinegar is ideal for cleaning because it won’t stain, unlike apple cider vinegar. Its acetic acid content will cut through the mineral buildup and sanitize your appliance without being too harsh on the components. If you’re not a fan of its strong smell, you can substitute it with fresh lemon juice. You’ll also need some warm water, a clean microfiber cloth, mild dish soap liquid, and a soft-bristled brush. Avoid using abrasive scouring pads or steel wool, as they’ll harm the ice maker.
Manually clean your ice maker’s interior and exterior for a deeper clean
The first step is to remove the water tube screen. It’s a tiny, white-colored screen located at the bottom of the machine’s interior. Remove the ice basket and the scoop as well and scrub them at the sink using warm water and dish soap. After they’re clean, set them aside to dryi. Next, combine water and distilled white vinegar in a 1:1 ratio and pour it inside the ice maker. Take care to remain beneath the max fill line. Then, run a self-cleaning cycle as usual. Once the cycle is complete, dump out the solution and run one more cycle to flush out the remnants.
However, if you ran a self-cleaning cycle already, dip a microfiber cloth (or gentle scrubber) in the water and vinegar solution and use it to scrub the interior. Trade the cloth for a soft brush for particularly tough spots. Pour in some water to dissolve the loosened gunk and twist off the plug to dump out the dirty water. Go over the exterior with a damp cloth to get rid of any dust and grime. Add a little dishwashing liquid to the mix if you encounter stubborn streaks. Now, grab a dry microfiber cloth or paper towel to dry the appliance since moisture will invite mold and bacteria. Replace the dried ice tray and water tube screen in their original spots, plug in the device, and turn it on. Avoid consuming the first batch of ice in case it contains little quantities of the cleaning solution.